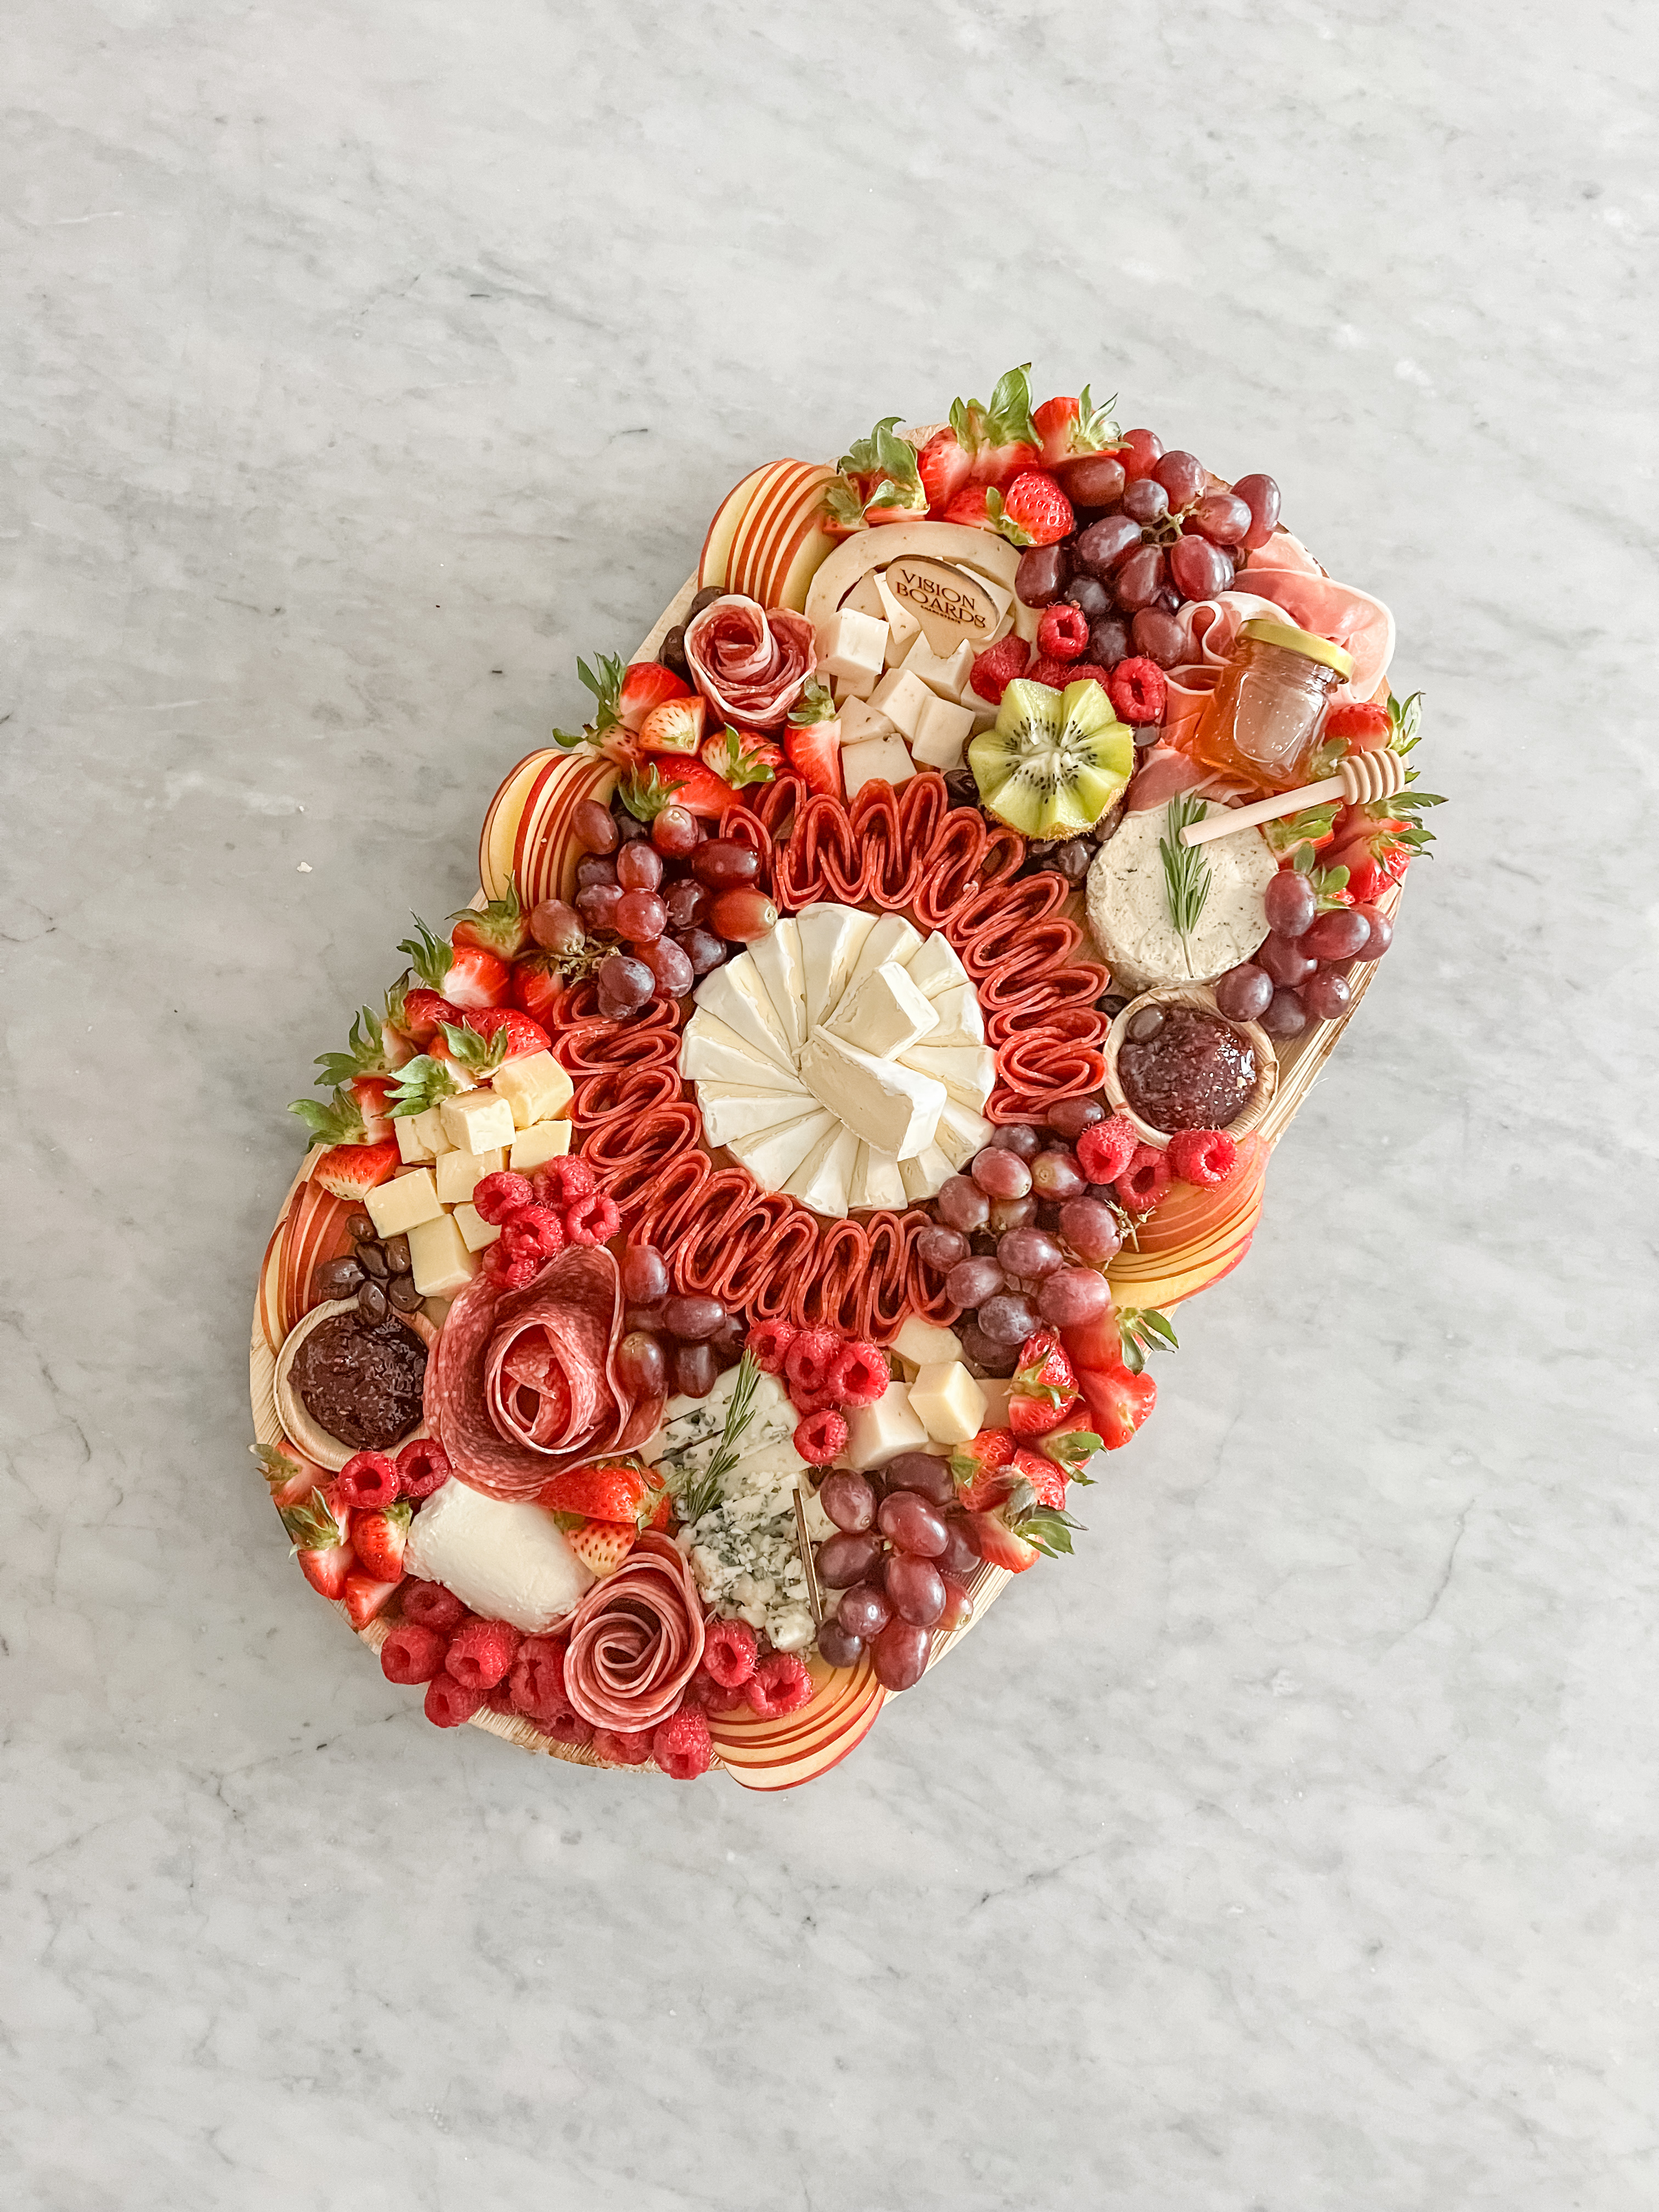
Oh Manchego…with its rich, nutty deliciousness and firm texture – this spanish cheese is a true charcuterie staple. But as we all know, to truly “elevate” a charcuterie spread, it’s not just about the taste—presentation is key 🔑
Whether you’re hosting a gathering for friends and fam or simply indulging in a solo dolo manchego snack, mastering the art of this cheese can help make your board unforgettable.
In this guide, we’ll explore 3 essential techniques that will help you style Manchego like a pro.
“In every single bite of Manchego, there’s a story to be shared, a memory to be made. A little slice of magic if you will.”
Carissa
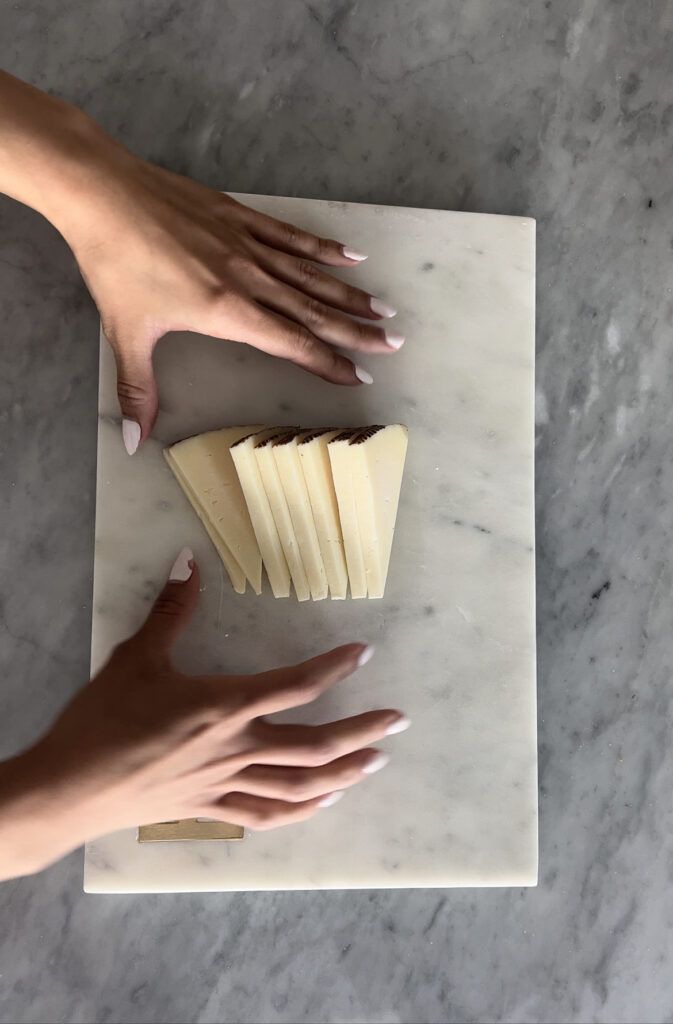
All you need is a wedge of Manchego cheese, a cutting board and a knife.
The Prep:
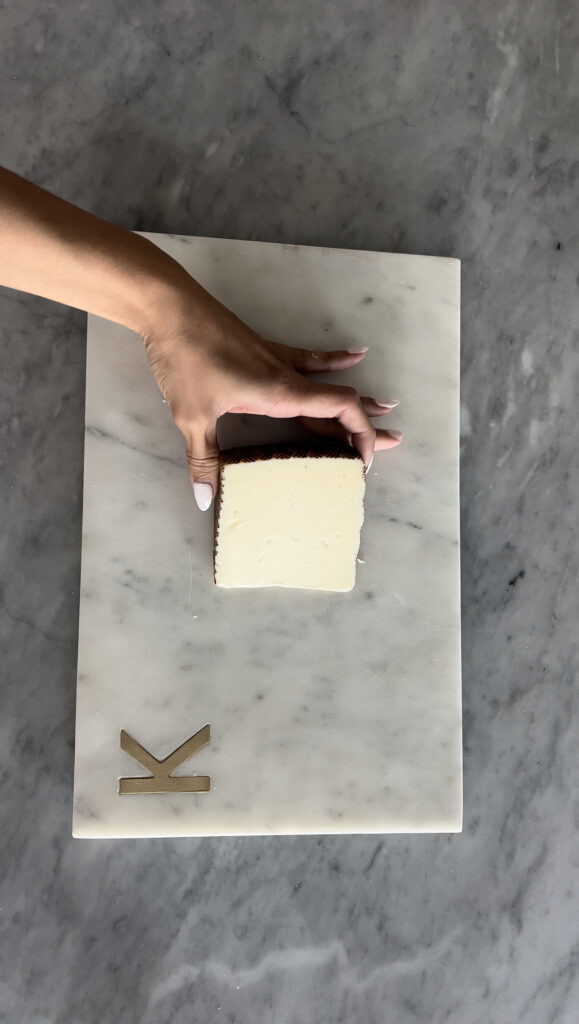
Step #1
Place your manchego wedge on your cutting board.
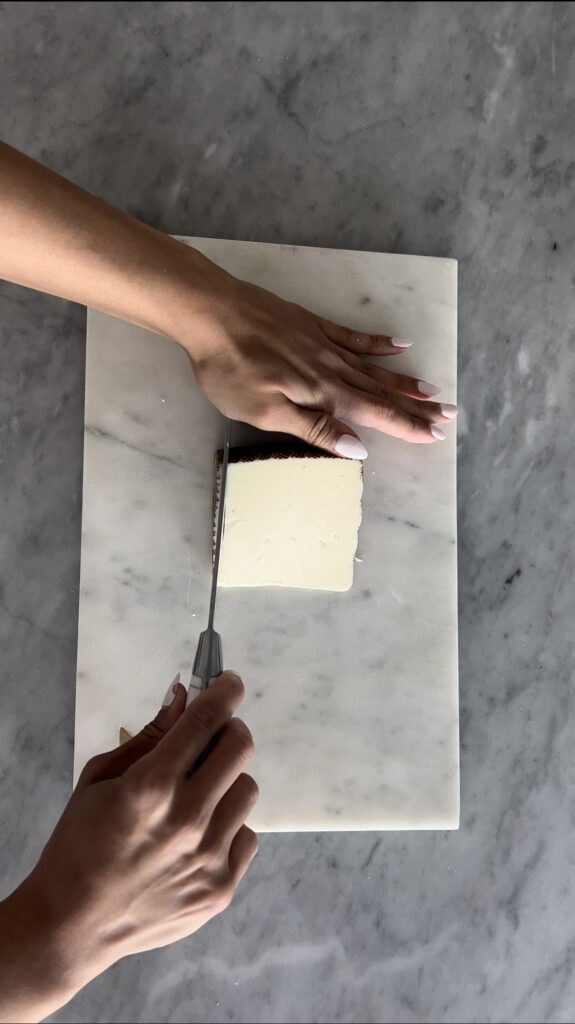
Step #2
Using your knife, remove the rind from both sides of the wedge.
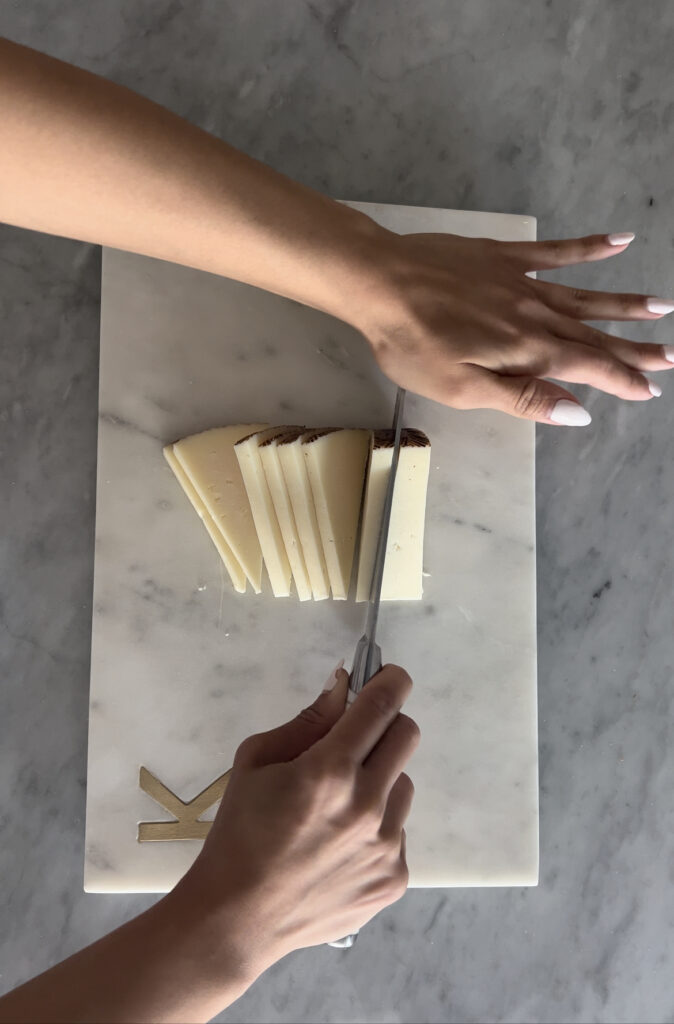
Step #3
Now slice the wedge from one end to the next, making sure each piece is about 1/4 inch.
Step #4
Once your wedge is cut in it’s entirety, you’re ready to create your 3 styling techniques.
So now that we’ve prepped our Manchego, it’s time to create our 3 styling techniques on our final platter.
The Arrangement:
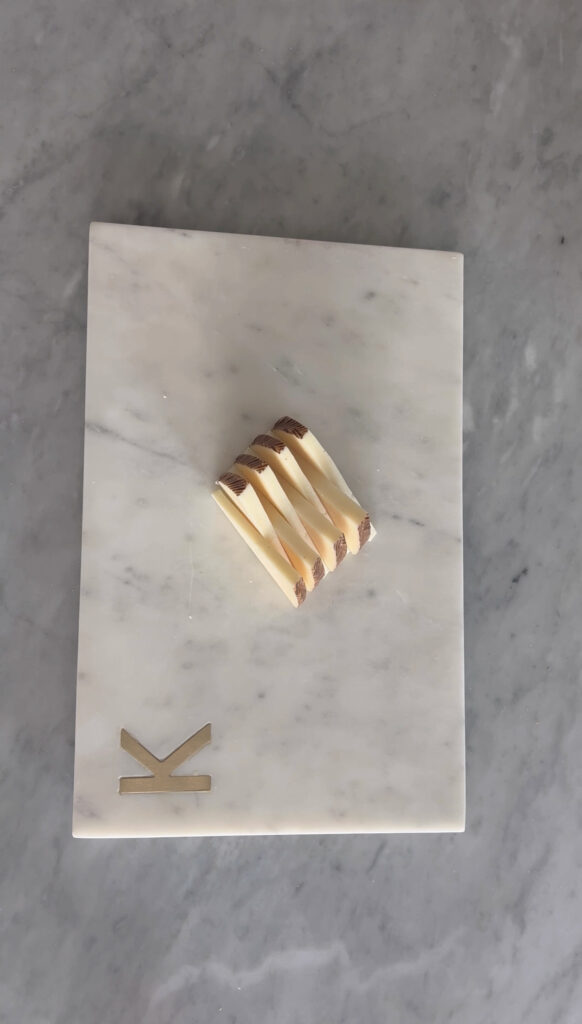
#1: Cheese Zipper
Place your slices of cheese on their side, in an alternating pattern on your board to create your cheese zipper.
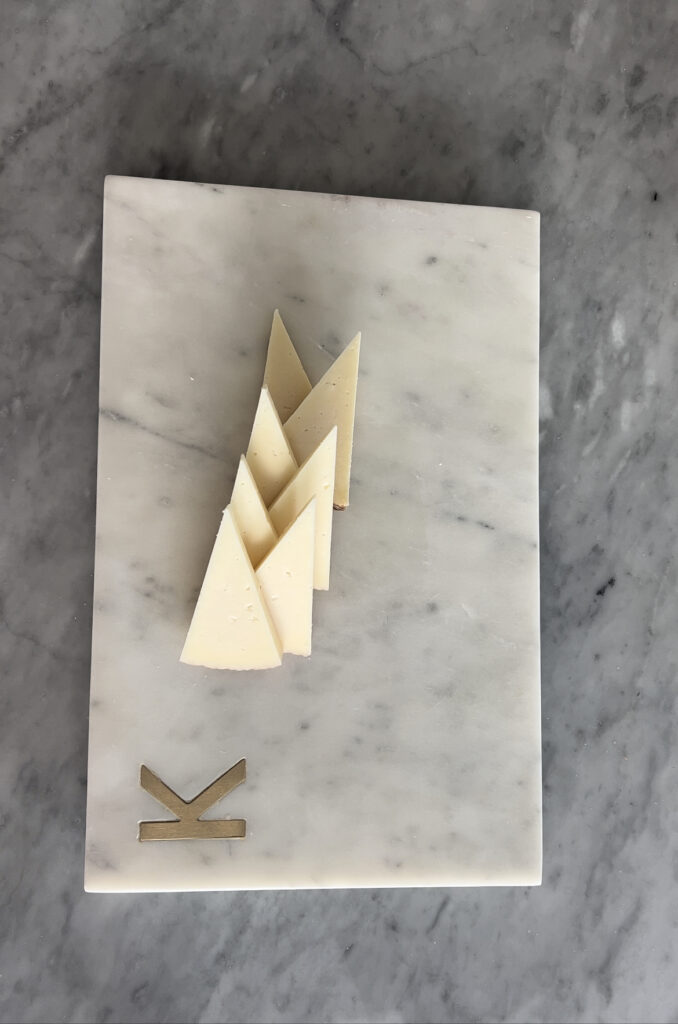
#2: Cheese Spikes
Place your slices of cheese pointy side facing upward. Then begin to lay each slice onto the next, flipping the side that you place it on.

#3: Manchego River
Lay your slice of cheese flat on your board, then begin to layer each corresponding cheese on top, maintaining the same direction.
Which one will you try first? Let me know below!
Want to learn more Manchego styling techniques? Join my free, live 30-minute charcuterie workshop here.