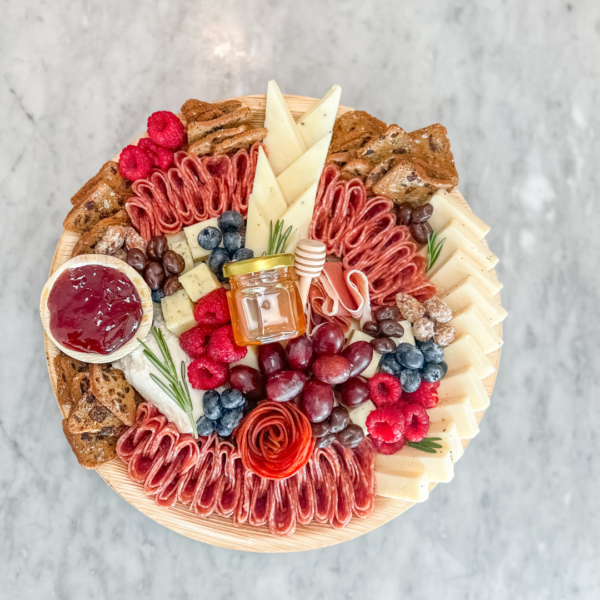
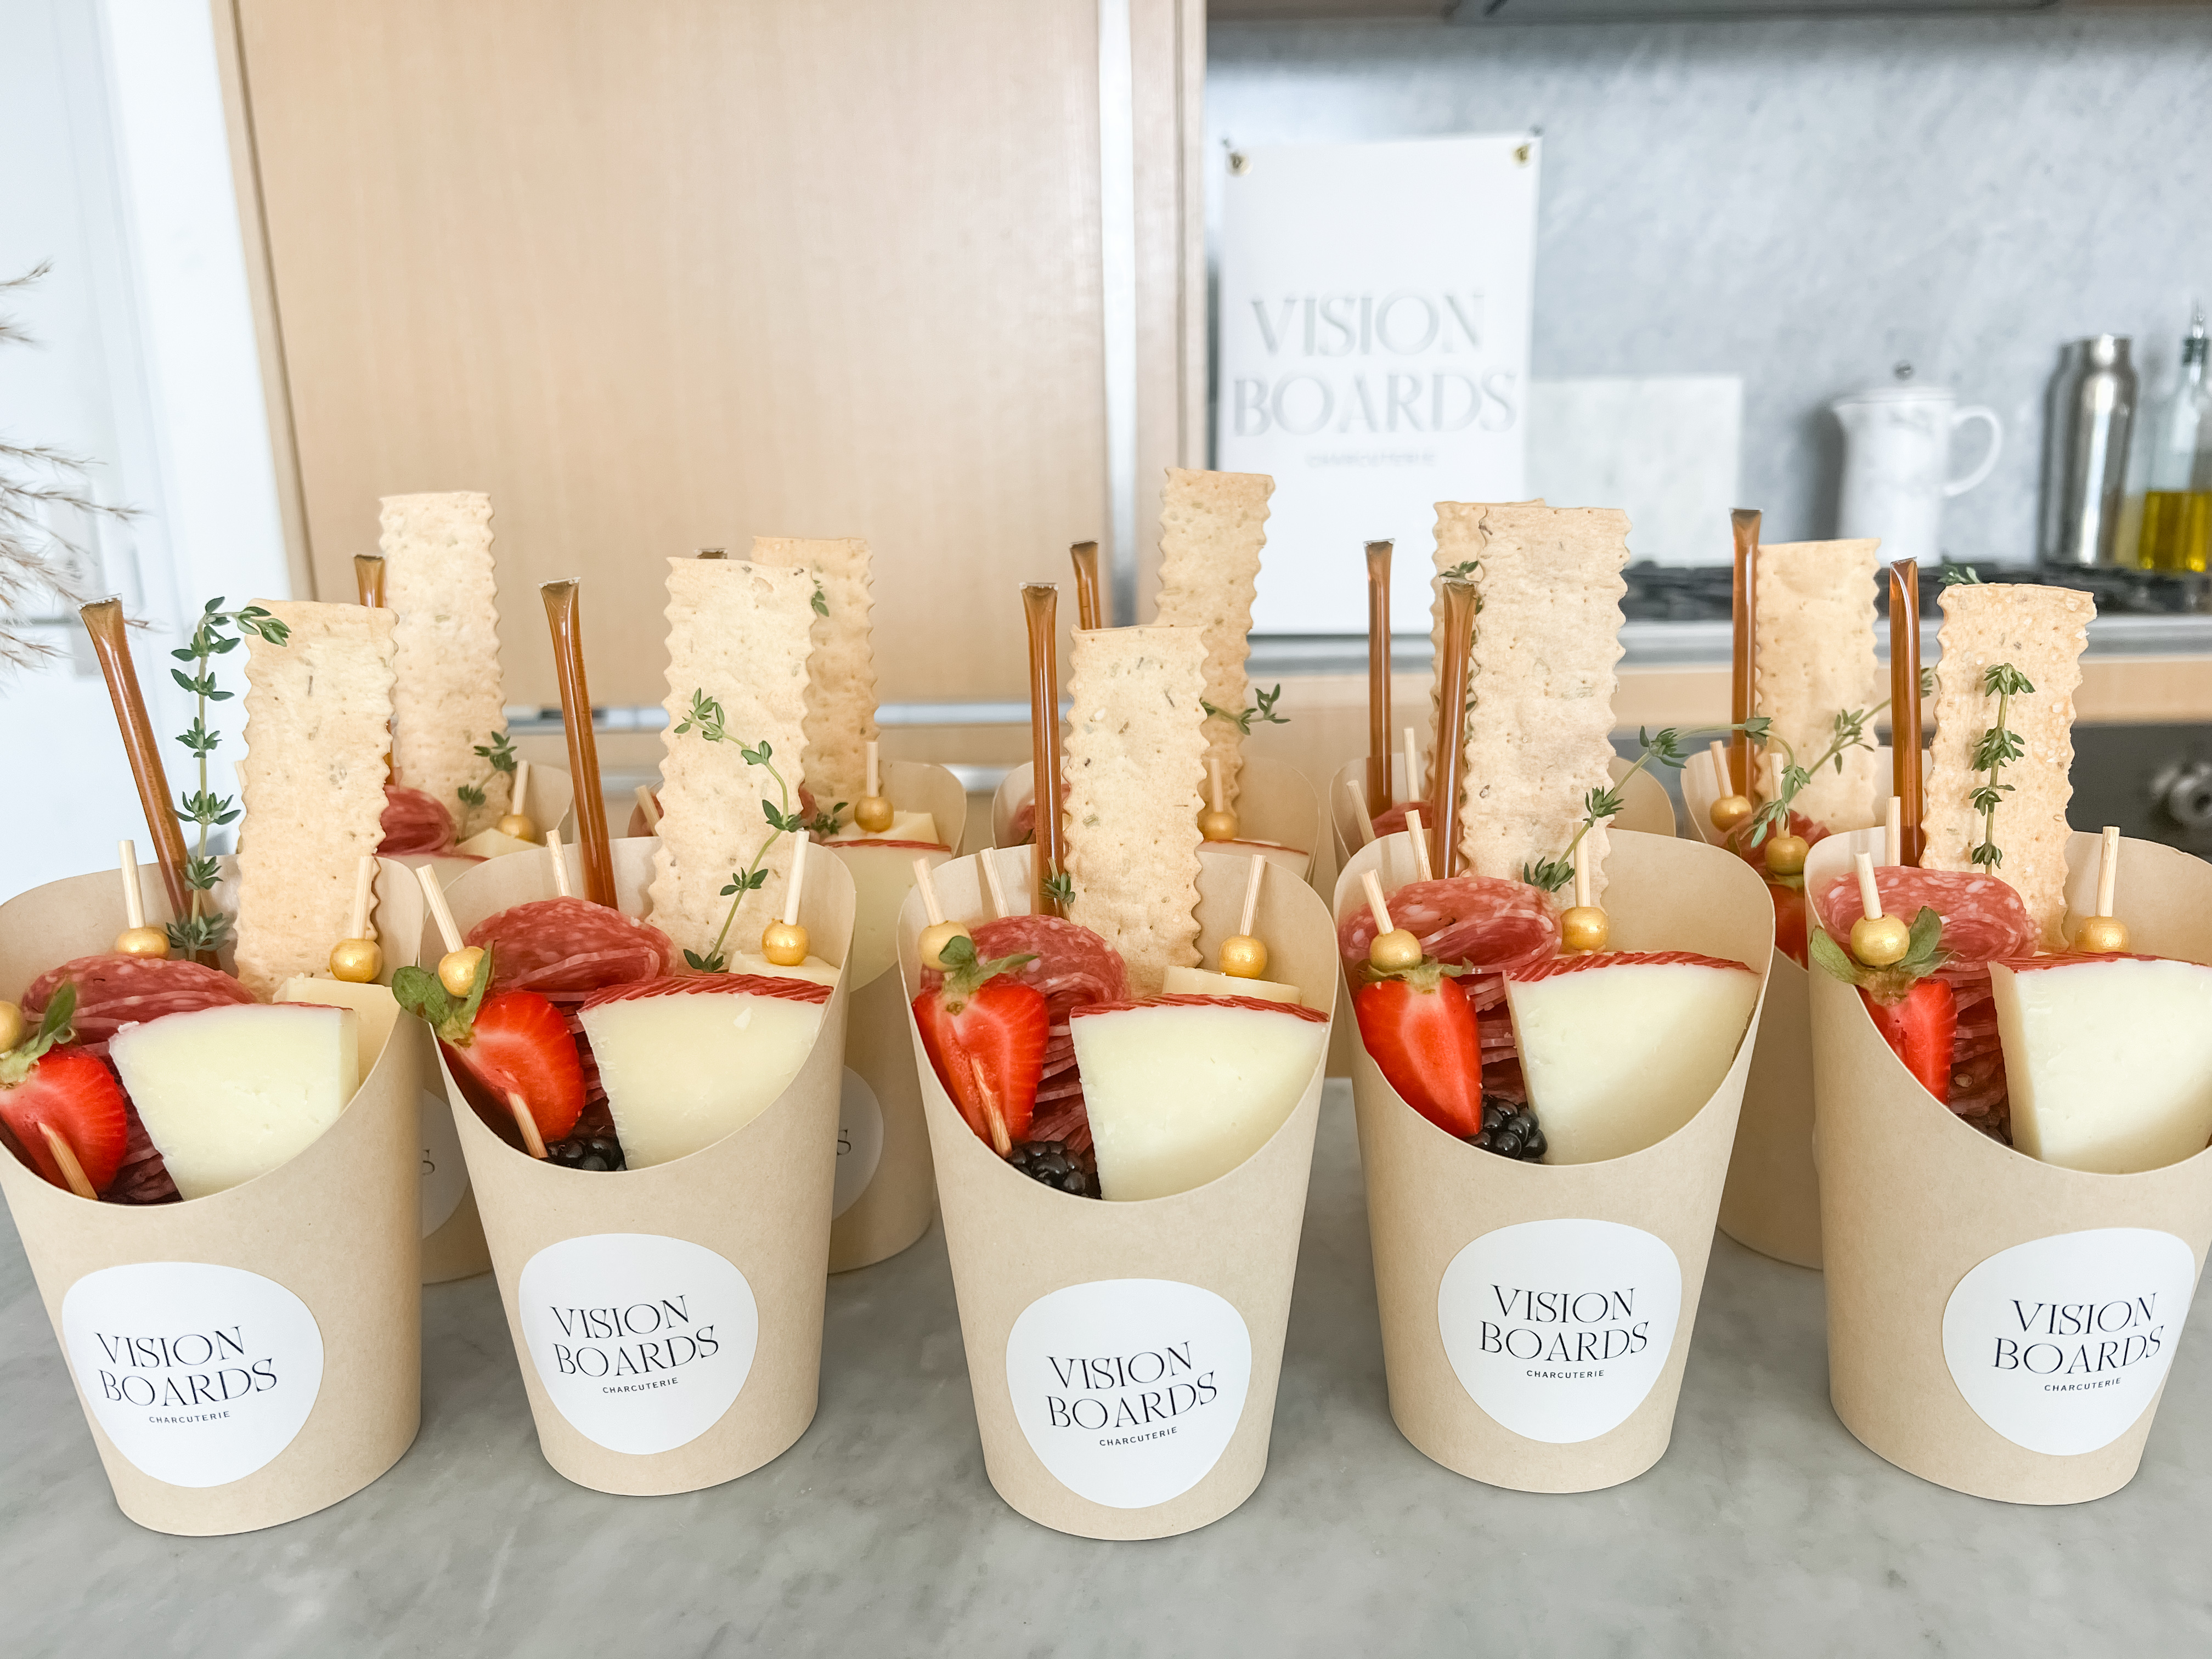
I need to let you in on a little secret – I’m obviously “team charcuterie board”, but my love for charcuterie cups runs pretty damn deep. There’s just something so special about individualized, custom treats that are perfectly portioned – I mean…could anything be better?
And I’m definitely not the only one who thinks this – my first ever viral video hit 2.3 million views and the topic? You guessed it: how to make charcuterie cups.
So I’m here to map out exactly that and share my step-by-step process on how to create these miniature little marvels that everyone loves so dearly. Let’s get into it!
Step #1: Gather Your Ingredients
The most important part of any charcuterie cup is all the goodness that goes into it of course! Creating charcuterie cups is an opportunity to cater to your particular palette.
Whether you’re craving something sweet or savory, your cups should represent you and what you love. Here is an example charcuterie cup ingredient list that I would use:
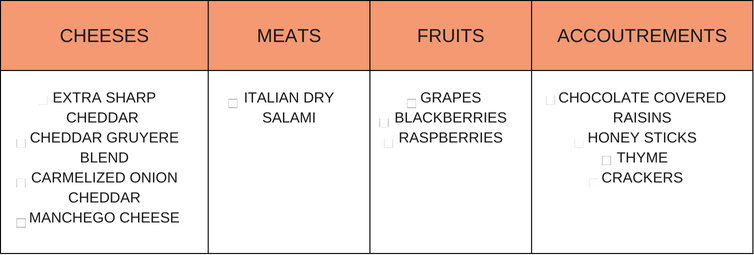
Beware: chocolate covered raisins aren’t for everyone! Feel free to swap any of the above ingredients based on your preferences.
Step #2: Gather Your Materials
Once you have all of your ingredients, the next step is to gather your materials. See below for a list of affiliate links you can use:
- Honey Sticks: This is an optional item I like to use to add a little sweetness to my cups! And the honey sticks are just oh so cute.
- Charcuterie Cups: In order to make charcuterie cups, you’ll need…well…the cups! Click the link for the exact cups I use.
- Cheese Picks: You’ll need cheese picks/”skewers” to organize the ingredients in your cups.
- Cutting Board: You’ll use your cutting board to prep and slice all of the necessary ingredients ahead of time.
- Knife: You’ll also need a knife to prep your ingredients!
Step #3: Getting Started
Before you dive into the curation of your cups there are a few key questions that you should ask yourself:
- How many people am I serving? The total amount of people will impact your ingredient list and the number of cups you make.
- Do I have everything I need? There’s nothing worse than opening up your pantry to get started and then realizing you’re missing a key item! Cross check the materials/ingredients checklists above as your guide.
- Are there any allergies? Great question to ask so you can steer clear of ingredients if someone in your party is allergic.
- Have I rinsed my fruit? Reminder to rinse your ingredients before putting them in your cups!
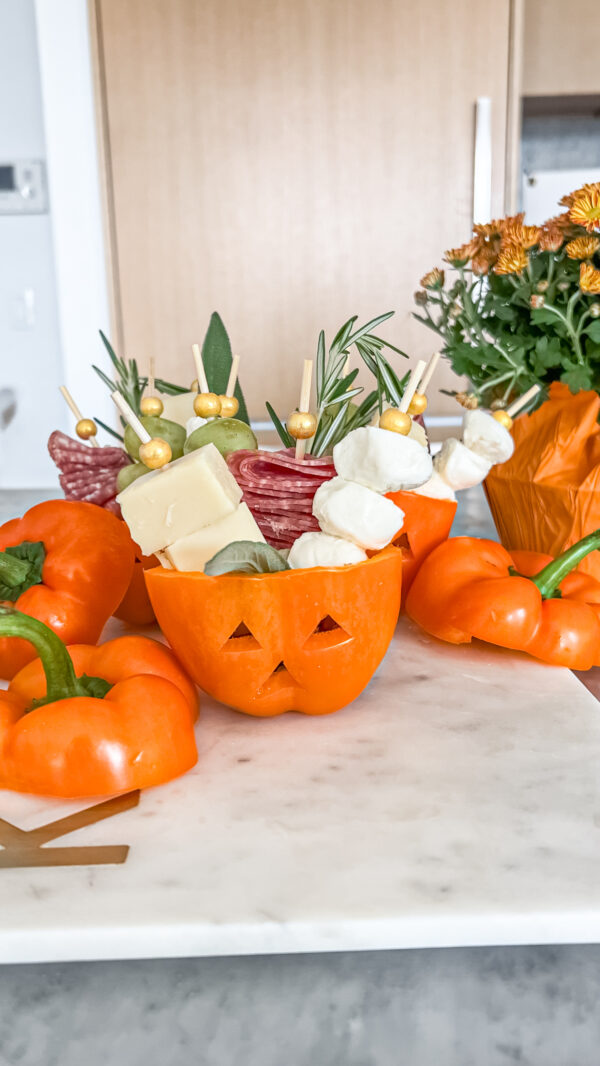
- Can I personalize my cups in any way? If you’re creating your cups for a special gathering or holiday, this is the perfect opportunity to make the experience extra special! Think about personalizing your charcuterie cups with a custom sticker, or even using themed cheese picks (for example: a valentine’s day cup may have heart shaped cheese picks). The goal here after all, is to create memorable moments!
Step #4: The Prep Phase
Before putting all of my ‘charcutraments’ in my cups, I like to take the first 20 minutes or so to prepare my ingredients. This involves styling your meats, slicing your cheeses and skewering your fruits to prep them for your final cups.
- Salami styling: Start by folding one piece of salami in half. Then fold it in half again. Repeat this process with 3 more slices of salami so you have 4 in total. Once all 4 pieces are folded, use a skewer to pierce all 4 slices so they’re secured together on the pick. Separate them slightly on the pick so they’re not compact together, but rather distributed along the pick. Create as many salami picks as there are cups (or if you’re creating vegetarian cups, forgo this step).
- Cheddar Prep: Cut your three types of cheddar into evenly sized cubes. Using a cheese pick, begin to add one cube of each type of cheese. Your final pick should have 3 cubes (of all different types of cheese). Make as many cheese skewers as there are cups (if you’re doing a vegetarian option, double the amount so each cup gets 2 skewers).
- Fruit Prep: Slide one grape, one raspberry and one blackberry onto your cheese pick. Tip: slide the raspberry onto the pick closest to the raspberry base, so it doesn’t break in half.
- Manchego Prep: Cut the wax rind off of both sides of your manchego. Then begin slicing your wedge of cheese about 1/4 of an inch thick so all slices are about the same size. This should yield about 8-10 slices per wedge.
Step #5: The Final Phase
At this point you’ve prepared your ingredients, you have all the necessary tools, and it’s time to make your vision come to life.
- Stickers: If you’re personalizing with stickers, you’ll want to add to all the cups first.
- Fill your cups: Start by filling the base of each cup with your chocolates (or nuts or raisins) really anything that can add weight to your cups to keep them sturdy.
- Add your crackers: Add a cracker or 2 (with height!) to each cup toward the back.
- Add your meats: Place your completed meat skewer in each cup.
- Add your cheeses: Place your completed cheese cube skewer in each cup.
- Add your fruits: Place your completed fruit skewer in each cup.
- Add your Manchego: place your slice of manchego (facing down! so the rind is peaking out) toward the back of your cup so it’s secure. This will take up a good amount of space.
- Add sprigs of thyme: add 1-2 sprigs of time to each cup to add a bright pop of green!
And you’re done!
You’re well on your way to becoming a charcuterie cup conosciour and I hope you use these tips and tricks to create your own charcuterie cups!
What event will you make them for? Let me know in the comments.
Want to learn more about how to make your own charcuterie cups? Check out the link to my Cups Made Easy charcuterie course here: https://www.visionboardscharcuterie.com/cme