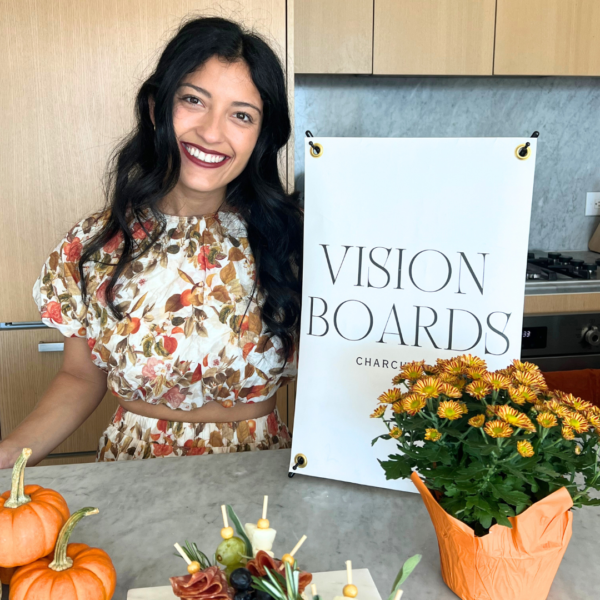
You’ve heard me say it quite literally 1,000 times, but charcuterie is so much more than just meats and cheese slapped on a board. It’s a centerpiece, a focal point and a beautiful place of convergence. From casual gatherings to upscale ~soires~, charcuterie invites guests to come together and connect over a shared love of good food and even greater company.
Charcuterie creates beautiful moments, on & off the board.
In this post, I walk through my fundamental steps for creating beautiful, classic charcuterie boards designed to be shared with family and friends.
Because after all, the mission here at Vision Boards Charcuterie is to help create beautiful moments, both on and off the board.
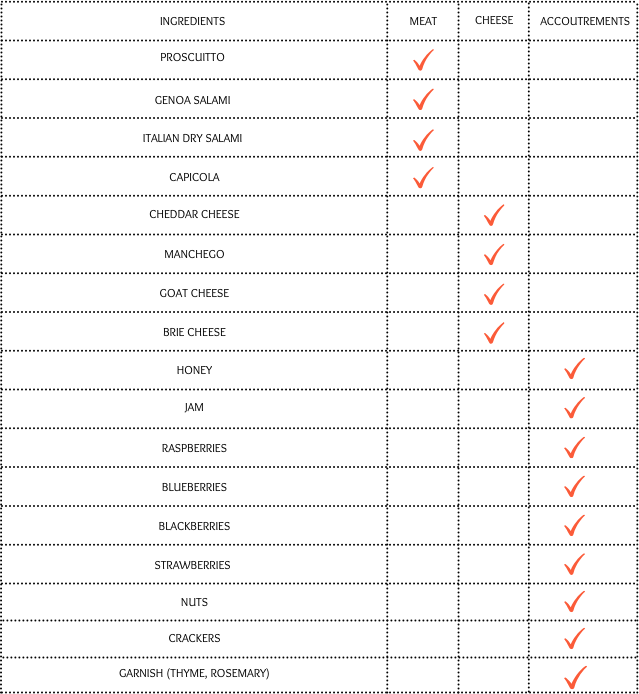
Step #1: Gather Your Ingredients
The first step in the process is to gather all of your ingredients. I’ve included an example ingredient list below:
Step #2: Gather Your Materials
Next, you’ll need your materials. See affiliate links listed below:
- Charcuterie Platter: This could be a wooden board, marble platter, really any existing surface that you will use as a vessel to hold your charcuterie arrangement.
- Cutting Board: Separate from your charcuterie platter, you will use your cutting board to prep and cut your cheeses, meats, fruits and more.
- Knife: You will need a knife to prep and cut your cheeses, meats and fruits.
- Honey & Jam Bowls: This could be any small bowl, cup, tupperware, really anything (small) that you can find to hold the honeys and jams on your board.
Step #3: Ask Yourself These Questions
Once you have all of your ingredients and materials, it’s time to dive into your prep! But first, I like to ask myself these questions:
- How many people am I serving? The total amount of people will impact your ingredient list and the type of board you use.
- Do I have everything I need? Cross check your materials and ingredients checklist as your guide.
- Are there any allergies? Great question to ask so you can steer clear of ingredients if someone in your party is allergic.
- Have I rinsed my fruit? Reminder to rinse your ingredients before putting them on your board!
- Can I personalize my board in any way? This could be an opportunity to make it extra special!
Step #4: The Prep Phase
Before laying all of my ‘charcutraments’ on the final platter, I like to take the first 20 minutes or so to prepare my ingredients. This involves cutting your meats, cheeses and fruits to prep them for your final vision board.
During this phase I begin to envision what my final vision board will look like, which will help determine how I’m going to cut & shape all of my cheeses and meats. I’ve outlined a few tips below.
- If you’re working with a large board and not as many ingredients, think about shaping your meats/cheeses so that they cover more surface area.
- If you’re going to personalize your board, plan this out ahead of time.
- Prep your meats and cheeses in different ways to create dimension.
- Have fun! The key to a perfect board is channeling the imperfect elements.
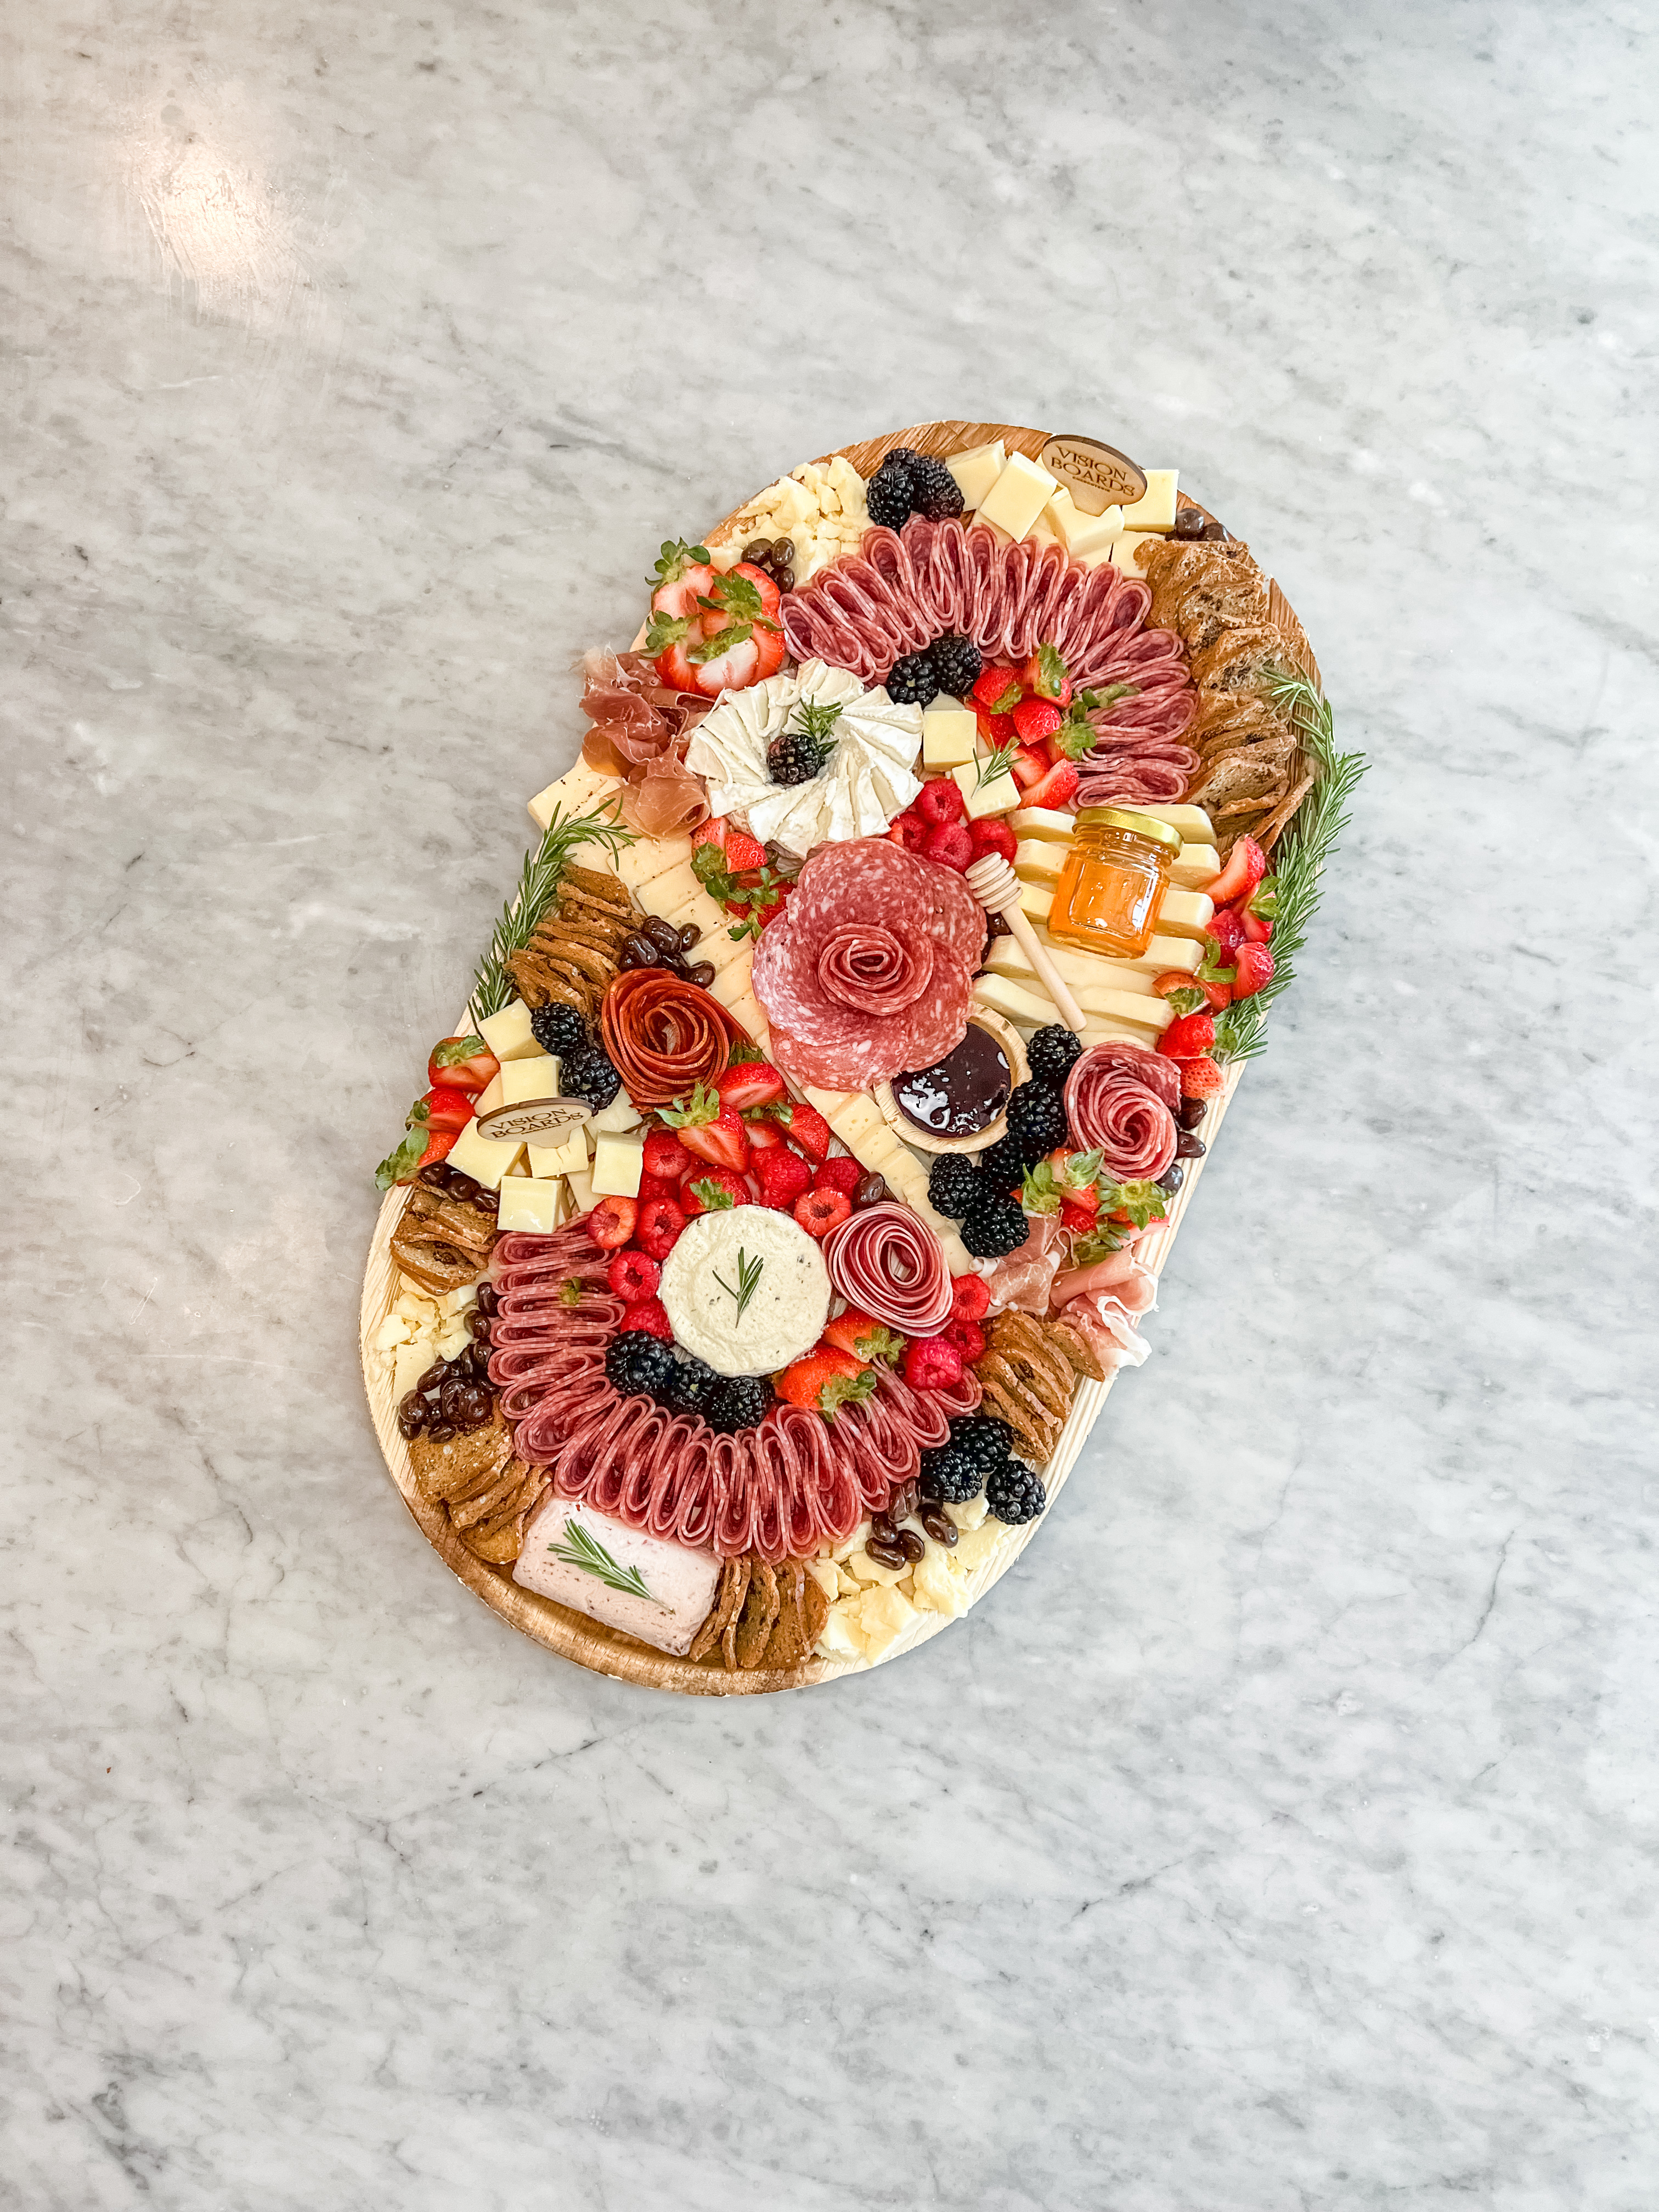
Step #5: The Final Arrangement
At this point you’ve prepared your ingredients, you have all the necessary tools, and it’s time to make your vision come to life.
During this phase, I like to begin with laying out my cheeses, followed by my jam, then meats, fruits, nuts, honey and then garnish. I’ve outlined a few of my favorite tip below:
- Begin with your cheeses: start by spreading out your cheeses so they’re all in different spots on the board.
- Next, begin layering in your meats. Feel free to place your meats directly next to your cheeses OR in blank areas where there are no existing items on your board.
- Next, lay out your accoutrements. You can almost think of this as “fillers” aka wherever there are blank spaces that need filling, you’ll use these as a way to fill in the gaps.
Pro tip: I actually like to serve my crackers separately from my charcuterie board! I find this strategy to be more visually appealing (IMO) and it helps keep the crackers as fresh as possible for optimal enjoyment!
Charcuterie is all in the details, & there’s a stigma that they need to be intricately complicated.
but that is simply not true.
With a little time and the right resources, anyone (yes, that means YOU) can create beautiful, professional boards to share with the people that you love.
If you’re interested in learning how to take your charcuterie boards at home to the next level, I’m hosting a free 30-minute charcuterie workshop! You can register at this link: https://www.visionboardscharcuterie.com/freeworkshop
Hope to see you there!